
Screen recording feature iPhone can be very exciting and handy if you want to record live streaming of Instagram, the clip of the game you are playing, and any video tutorial you are recording for your friends.
After recording this video you can send it to your friends, family or post it to your social media accounts like Twitter and Facebook.
The feature of screen recording is a built-in function of the iPhone.
However, first, you have to know how to screen record on iPhone.
To do this check whether the screen record button is in your control center or not.
Now you have to open the control center.
If you have an iPhone X or later model then you have to swipe down from the top right corner and if you have an iPhone 8 or earlier, then you have to swipe up to open the control center.
Now see if there is any screen record button on your iPhone.
It looks like a dot with a circle shape. If you don’t find the screen record button then here is the process.
First, you have to open the settings of your iPhone. Now tap on the control center.
From here you can remove or add any item from the menu of the control center.
There will be a green button with a + next to “Screen Recording”, scroll down and simply press this button.
Now it will move from the More Controls section to the Include section located at the top.
Now we will guide you thoroughly on how to screen records on iPhone including its maximum models.
How to Screen Record on iPhone?
Screen Recording
Now, it is all set for screen recording.
Before we start you should know that some applications can block your screen recording.
- First, open the website or app from where you want to record the screen.
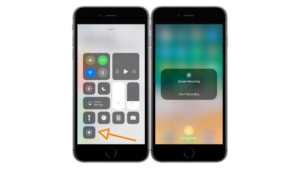
- Now navigate to the control center menu of your iPhone. For iPhone X or later models swipe down and swipe up for the iPhone 8 and earlier models.
- There will be a crescent moon button that will turn on the “Do Not Disturb” button. It will pause all notifications and calls on your iPhone. That will be handy because everything will be recorded to your iPhone screen even notifications displaying up on your mobile. By pressing and holding the “Do Not Disturb” button it will display some more options like turn off notifications for just an hour or you can also schedule when you want to pause notifications.
- From the control, center tap on the screen record button to start the recording screen. After pressing the screen record button, the timer will start before the start of recording and it will give you 3 seconds to get prepared for it. Then tap on the screen and hide the control center menu.
- You are ready now to record both audio and video of anything you are listening to or watching on your iPhone. However, you cannot record any kind of audio, not generated from your device. But if you want to record your voice or some external audio then you have to turn on the microphone.
- So, before starting screen recording press and hold the screen record button. Then turn on the microphone. Tap on the microphone button from the pop-up screen. Press the “Start Recording” button. It will begin the countdown. Now tap on the screen and exit the screen. Then close the control center by tapping on the next screen.
- You should keep in mind that after turning on the microphone you have to switch off it otherwise it will remain on when the next time you record the screen. So, it will be better to turn off the microphone after screen recording.
- If you want to stop screen recording, then re-access the control center and press the record button.
- If you are recording on social media and you have an open YouTube video or Instagram story there will be a red bar on the top left of your screen which shows you are recording. By tapping on this red bar pop-up window will appear and ask if you want to stop recording or not.
- You can get this video from the photos app where you have your other photos and videos.
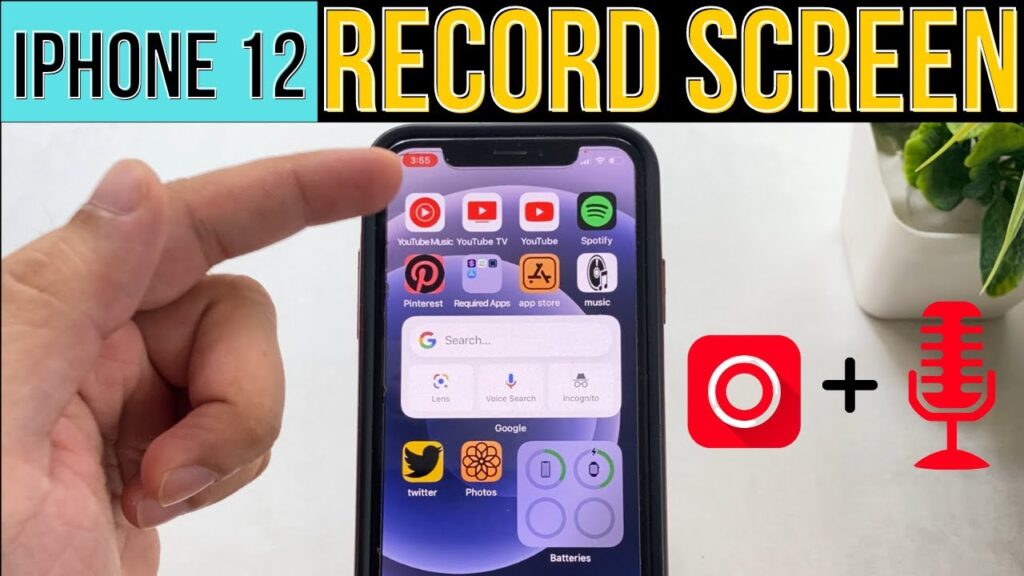
how to screen record on iPhone 12?
Screen recording in iPhone 12 now is a simple task.
Important: Before recording the screen in iPhone 12, it is important to add a screen recorder in the control center so that you can find the necessary options at the time.
Look, how can you add a screen recorder in the control center:
- Go to Settings of iPhone 12.
- Find the control center and click on it.
- Here, you will see multiple apps that you can add. Scroll down to find the Screen Recording option.
- Click on the green plus logo (that is next to the Screen Recording).
- Done, Screen Recorder is now added in the control center.
Now Screen Record On iPhone 12?
Now you have added the screen recording to the control center.
Follow the below steps to screen record on iPhone 12.
- Swipe down on your iPhone 12 from the upper right corner (from the network bar).
- From the control center, click on the screen record icon (circle).
- The screen record will take three seconds to start the recording.
- Here you go. The recording is started, and everything you will do on your iPhone 12 will be recorded.
- After you are done recording, click on the red bar at your screen’s left corner to end the recording.
- A confirmation window will be shown. Click on the Stop option.
Screen Record With Sound on iPhone 12
- On your iPhone 12, swipe downwards from the upper-right corner of the screen.
- Press and hold the Screen Record icon.
- Click on Microphone On.
- Click on Start Recording.
Now you are recording the screen on iPhone 12 with sound.
To stop recording,
- Click the red status bar at the top left of your iPhone 12 screen.
- Click Stop.
- The video will automatically be saved to the gallery.
How to Screen Record on iPhone 11?
Now iPhone 11 is available for everyone.
It has several new and amazing features with it’s epic look. One of its interesting features is screen recording.
With the help of this feature, you can record a video from your screen or anything you are doing on your phone.
The process to record your screen with iPhone 11 is given below:
- Go to the control center of your iPhone 11. For this navigate to the settings tab then the control center and after that customize controls and next to the screen recording button tap on the green button.
- If you want to start screen recording from the bottom of the screen swipe up your control center. After this, you will see the screen recording button on the bottom left corner.
- After you start the recording under the start recording button there will be an option for the microphone to turn off or turn on. Tap this microphone button to turn it on before you record the video.
- When you record, the Microphone button will turn red indicating that your audio has been recording. Press stop Recording if you want to send your video recording.
- Like other videos and photos, screen recording will also get saved on your phone. You can access this video recording from your photo or video app. Then you can edit or trim this video. While screen recording it puts a red stripe on the status bar at the top of the screen which reminds you the screen has been recording.
- Text, email, or Tweet your recording from your Camera Roll the same way you would a regular video. You can now brag to your friends about your iPhone prowess, and you’ll have a recording to prove it.
The same method goes for recording on iPhone 11 pro max.
How to Screen Record on iPhone 7?
iPhone 7 has excellent and next-generation technology and features in it.
It has a new and improved display and it does not have a headphone jack.
It also has a rear dual camera. The iPhone 7 is waterproof with different colors and new chic designs.
You can record the screen on your iPhone 7 with QuickTime that requires two things.
- Lightning Port and iOS 8
- Mac along with OS X
Here is the complete process:
- Initially connect your iPhone 7 with your Mac by using the lightning cable.
- After connecting your iPhone with Mac run QuickTime software on your Mac.
- Then you have to look for the record button and click on the dropdown menu to see more options.
- There will be an option of screen recording of your iPhone 7. After selecting this option instantly you will see that your screen is copied on Mac.
- If you don’t need voice-over sound to be recorded instead you want to record the screen from your screen click the None option from your microphone. If you also want to record the clicks on your screen then select the option of “Show Mouse Clicks”.
- You can monitor the audio recording using a slider monitor.
In some special cases if you want to record any specific part of the screen then drag the area of the screen you want to record and after that, you have to tap in the area to start recording.
But if you have to record the full screen you can tap on the screen anywhere.

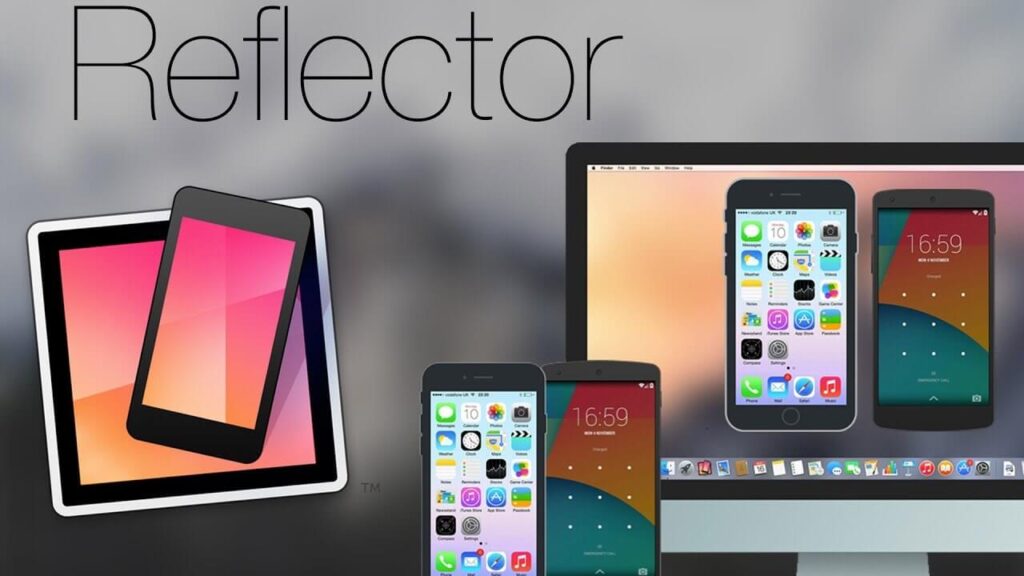
Using Reflector:
The most easiest and convenient way to record the screen on iPhone 7 and iPhone 7 plus is by using a reflector.
It is a third-party app so you have to download and install it first on your PC.
Install Airplay on your iPhone 7 to work as a reflector on your iPhone.
Reflector works the same as QuickTime.
Now launch Airplay on your iPhone 7 and reflector on your PC.
After that turn on the “Mirroring” option.
After connecting your iPhone 7 screen with your PC you can record your screen.
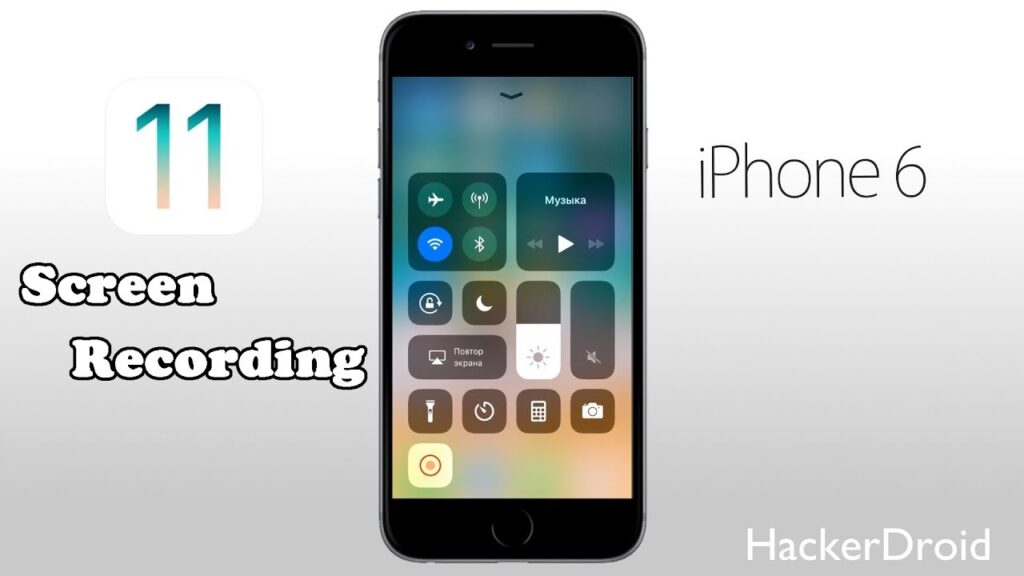
How to record screen on iPhone 6?
Some people like to record a video while having a video call with someone close as a pleasant memory or watching an Instagram story.
Here is the process to record the screen on iPhone 6.
There are some simple steps to follow and it will only take a few minutes.
- First, verify that the control of screen recording is activated in your iPhone 6 or not. To check this go to the settings tab, it will appear as a gear icon on your iPhone 6 Home Screen.
- After finding the control center click on it and then customize the control.
- If the screen recording control is activated then it will display in the first list on iPhone 6 in the “Include” section. We can also change the order in which it will appear by clicking on the three horizontal lines on the right of the control by dredging up or down. You can also remove control with the red button.
- If you don’t find the control button then go to the “More Controls” section it will appear and then click the green plus button to add it. After this step, you can exit from the settings tab.
- Now you have to swipe up from the bottom or swipe down from the top from the screen where you want to start screen recording.
- If you want to record a screen without a microphone press the recording button and it will start recording the video after the countdown of 3 seconds, a red line will appear at the top of the screen, and the recording button will indicate that the recording has been started.
- On the other hand, if you want to record a video with Microphone then press and hold the microphone button to activate it and then click on the start recording button. It will start recording video after the countdown of 3 seconds.
- If you have to stop recording go to the control center and click the stop recording button. You can also stop recording by clicking on the red line in the status bar from the top of the screen and clicking the Stop button.
- After all the message will appear on your phone screen stating that your video has been saved to photos.
- So, you will find your video from the video or photo app and you can share it with anyone from there.
How to Screen Record on iPhone X?
For a long time, the feature of screen recording was not part of the iPhone.
Many iOS updates come after it’s launch without the screen recording feature.
This feature was only available via different third-party apps.
After a long time, Apple realized and understood the importance of screen recording features.
Then finally Apple launched their built-in screen recording feature in iOS 11.
The step by step process to record the screen on iPhone x is given below:
- Go to the settings tab in your iPhone X and then from the options list go to the control center.
- A new screen will appear in front of you where you have to select the customize controls option.
- Before you go to the screen recording from the list you have to see whether the option is already present in the include list. If not then move towards the next section and search the screen recording option.
- If there is no activated control then you will get this from the More controls section. Then you have to add it by clicking on the green + button. Now you can exit from the settings tab.
- Now the screen from where you want to record screen swipe from the upper right corner.
- You can activate or deactivate the microphone according to your need. It all depends upon you whether you want to record your voice or not.
- If you want to stop recording click on the stop button from the control center.
- After this, a message will appear on the screen that your recording has been saved.
- Then you can access this recorded video from the photos app.
How to Screen Record on iPhone XR?
Every iPhone has a built-in screen recording application which means that you don’t need any third-party application or software to record your screen.
Here is the process of screen recording on iPhone XR
- Go to the control center in the settings tab. Then you have to add a screen recorder to the app list of the control center.
- Now close the control center and swipe up the screen.
- Then tap on the option of screen recording.
- Now open the video from any application or social media platform, you want to download.
- From the screen recording icon, you can stop the screen recording anytime.
- From the photo album of your iPhone XR, you can access this video.
More on iPhone:
How to Make your iPhone Camera Better
How To Transfer video From iPhone To Android
How to Check AirPods Battery on iPhone in Simplest Way?
How to Lock Apps on iPhone with Password
How to Connect Airpods to iPhone
Ending Lines
There was a time when you had to download a third-party application to record your screen.
But now if you have an iPhone you can easily record your screen any time and from any platform or social media.
The iPhone has a built-in feature of screen recording.
But how to screen record on iPhone? The complete and step-by-step process is explained in the above lines.